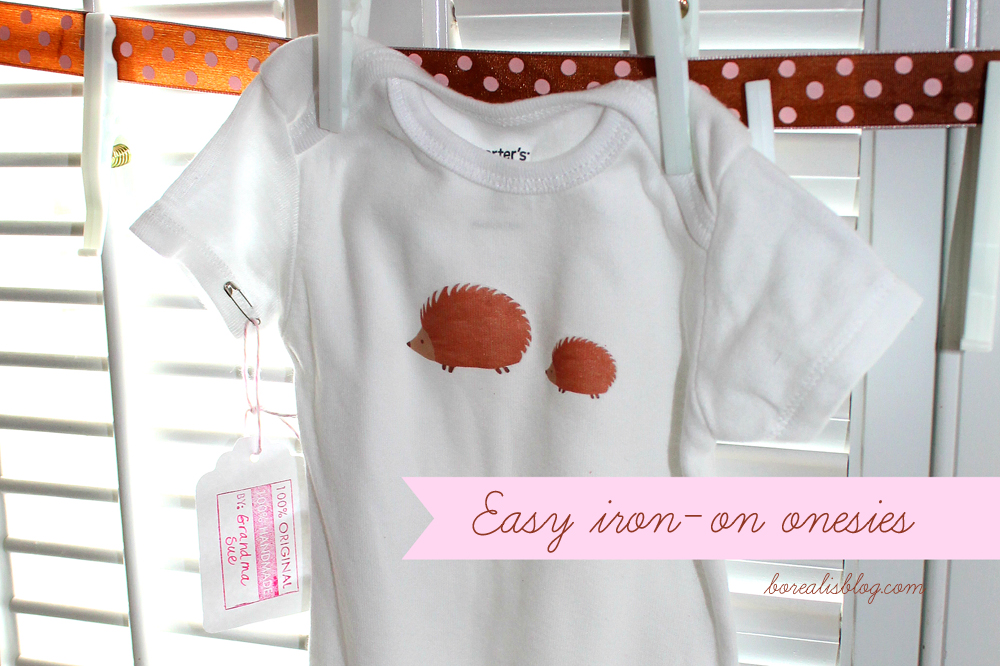
 One of my younger sisters is having her first baby in July and I had a great time throwing a shower for her with my stepmom just last week. My happy job was to decorate in pink sock monkeys and bring the activities. (There’s very, very little pink in my life, and I’ll take any opportunity to make one of my pennant banners that I can.)
At previous showers I’ve thrown (Breanne’s shower for Beatrice, actually), we had great success using the freezer paper stencil method to paint custom onesies. I wanted to replicate this fun alternative to shower games, but make it a little easier for a larger group that included kids. Enter printable iron-on paper and a couple hours searching for adorable free images to download.
Here’s how we made these ridiculously cute and super easy onesies, a project that elicited lots of oohs, ahhs, and giggles with no craft-induced stress and nearly zero mess.
 How to make iron-on onesies
- Get some Avery brand iron-on transfer paper for inkjet printers. I got mine at Staples. It is available in two versions – one for printing on white or light cottons, one for dark colors or denim.
- Search for free printable downloads in themes or designs you like. Pinterest is a great source for this; many designers and party planners offer freebies periodically on their blogs. Make sure you are downloading something that is meant to be free and used any way you want to. It’s just the right thing to do.
- Edit your downloads as needed. Some of my downloads were PDF sheets full of images and I just wanted one or two. I opened the PDF in Adobe Photoshop Elements and just cropped out what I wanted. I also got extra fancy and changed the color of some of the images – for example I wanted three matching birds, but in different colors. Save your files as PNG files so they have transparent backgrounds.
- Place all your images on a Word, Publisher, InDesign, or other page and put them as close together as you can. (Iron-on paper is not especially cheap, so use all the space you can. This is why you want your files to have transparent backgrounds; you can overlap them and get the images close together.)
- IMPORTANT! Don’t waste a sheet of paper like I did. If your designs have any words on them or an obvious orientation, you need to flip the image horizontally so when transferred it is correct. This can be done in Publisher easily; I’m sure InDesign and similar programs can do this as well.
- Wash and dry your onesies, which should be 100 percent cotton. Wash with detergent (I used Dreft), but don’t use fabric softener. You don’t want the fabric coated with anything. (I used a little vinegar to soften instead.)
After these six steps, your prep work is done. Now it’s time to set up for the party!
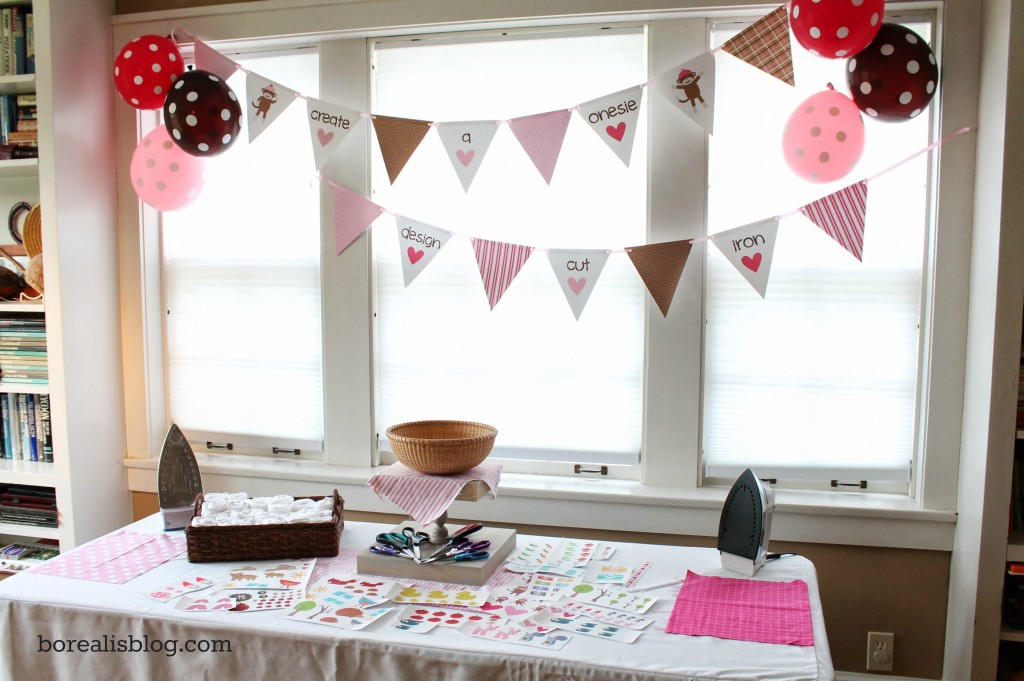
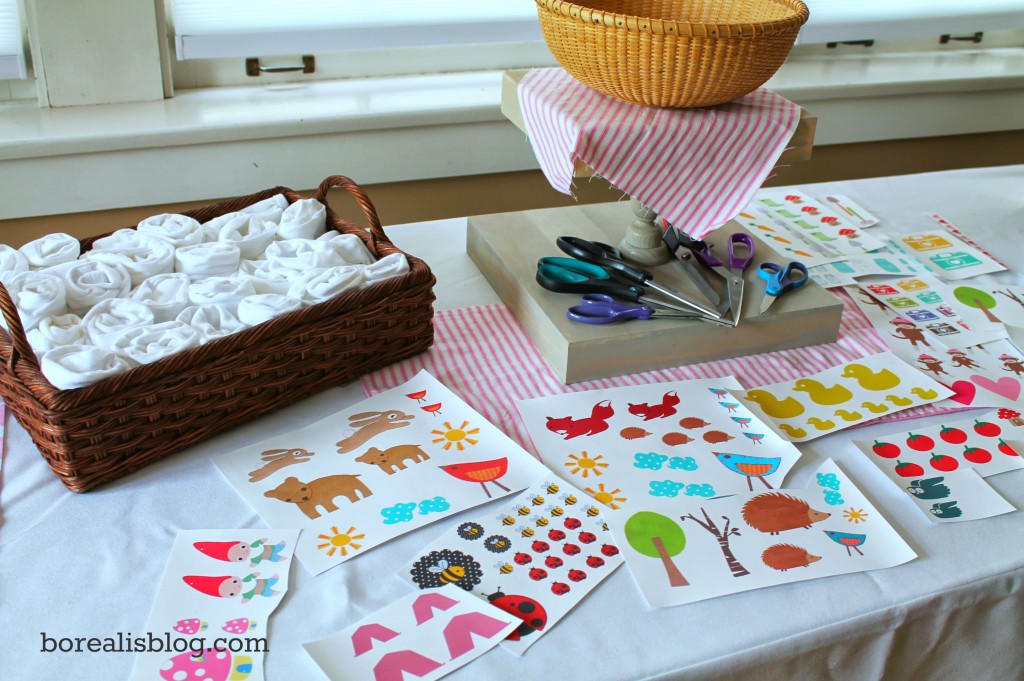 At the party I set up a long table with the onesies (get a variety of sizes; no one needs 25 size 0-3 shirts!), designs, lots of scissors, and a basket for the scraps. On each end I placed an iron and a rectangle of cotton flannel to use as an ironing surface. The iron should be dry (no water left in it) and preheated to the hottest setting.
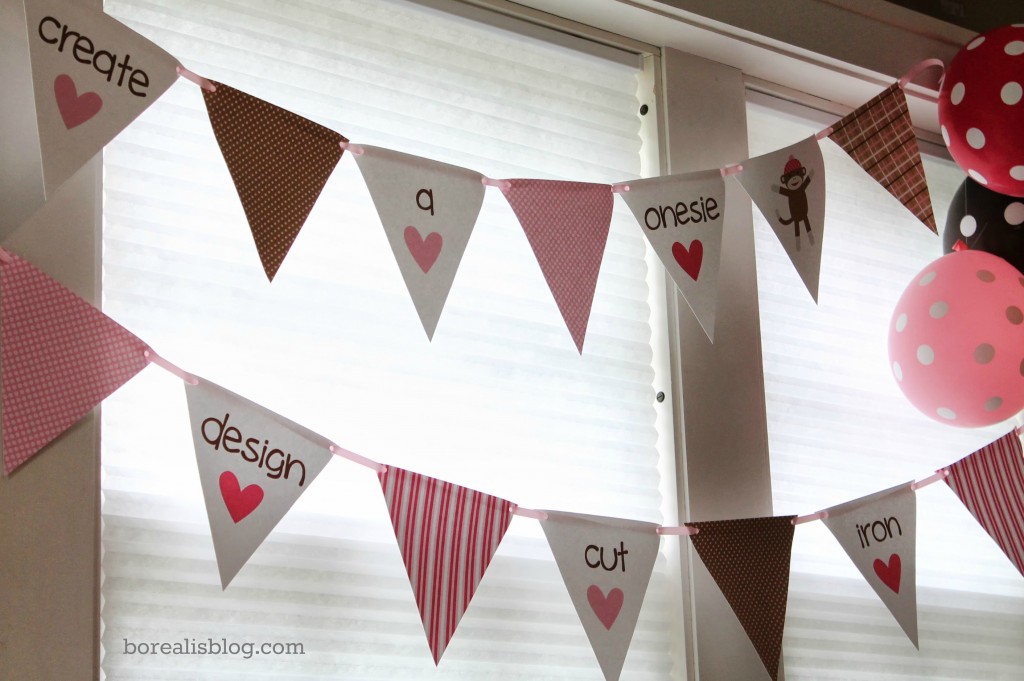 The banner says “design, cut, and iron” and it is really that simple. I chose very small images and icons, hoping that people would create their own designs with them, which many did. I especially loved the tomato, carrot, peas, and canning jar combo my sister-in-law made, or the pink sock monkey standing on her head.
For these small designs, about 30 seconds of heat and downward pressure with the iron was sufficient to transfer it neatly. When you start to see the colors of your design bleed just slightly out from under the paper backing, it’s done. Let the onesie cool before removing the backing.
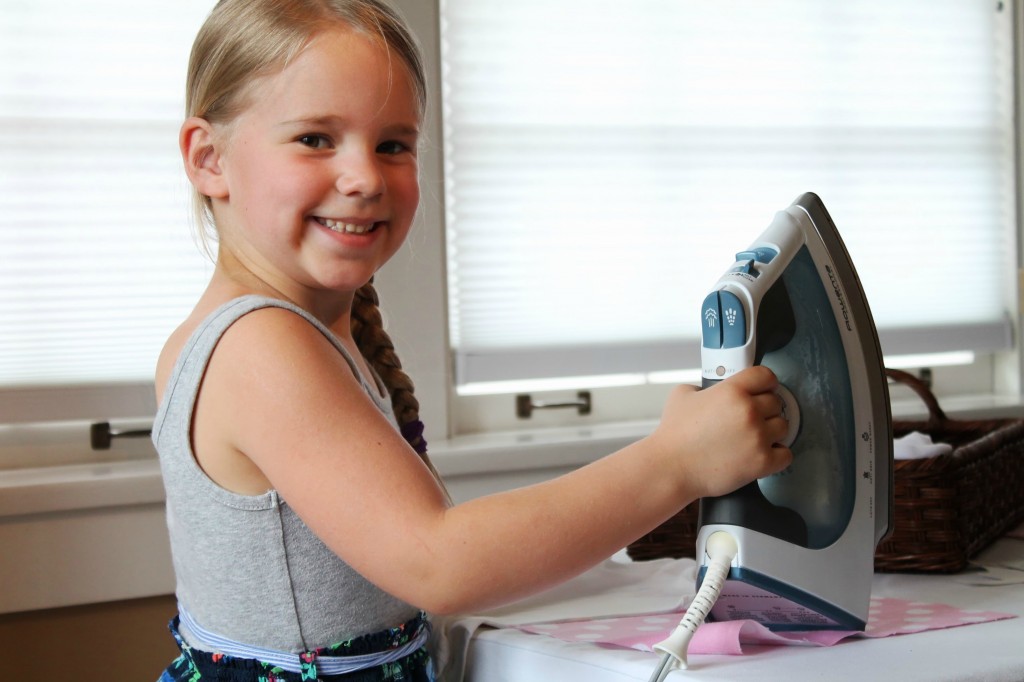 My niece Natalie, age 6.
We hung the finished shirts with clothespins on a length of ribbon strung across a window in the living room.
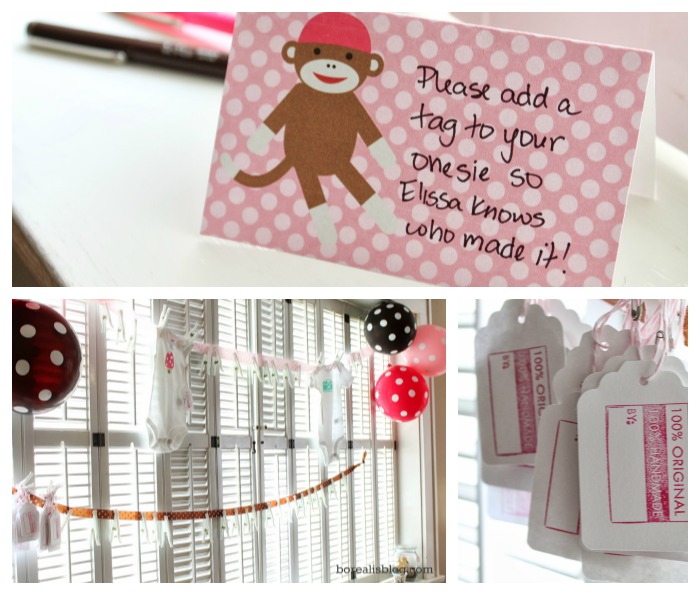
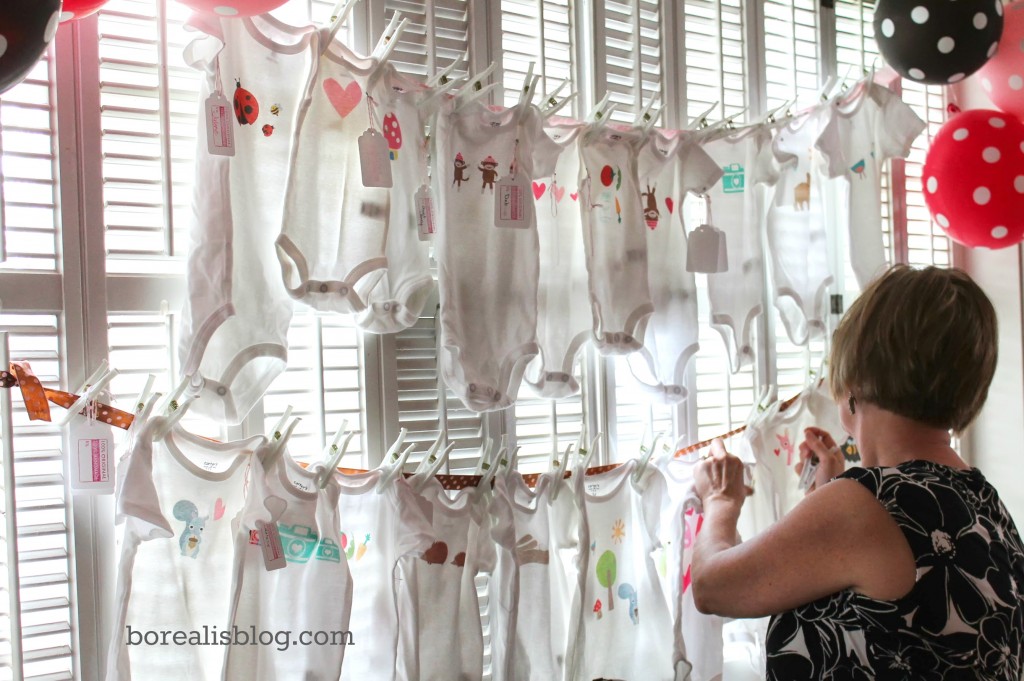 I made tags with a rubber stamp that says “100% original, 100% handmade by” for people to pin to their shirts so Elissa would know who made which one.
 The onesies turned out really cute and the guests had fun making them.
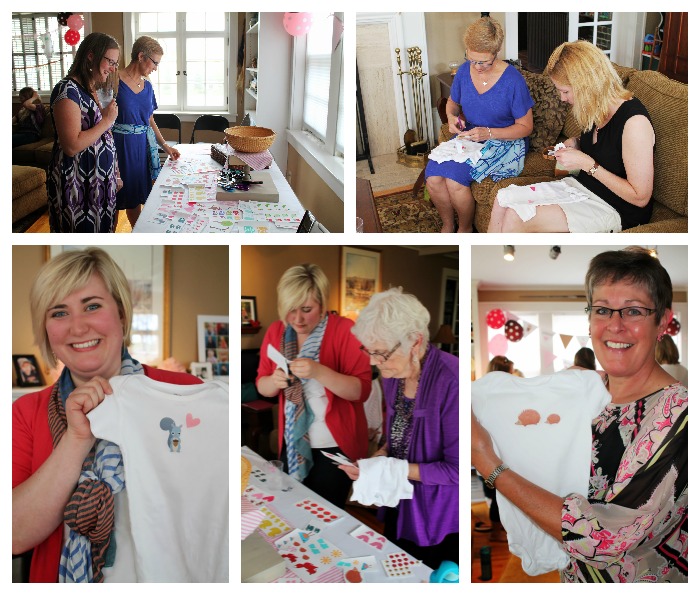 And because it’s just so beautiful, here’s a photo of the mom-to-be and her mom.
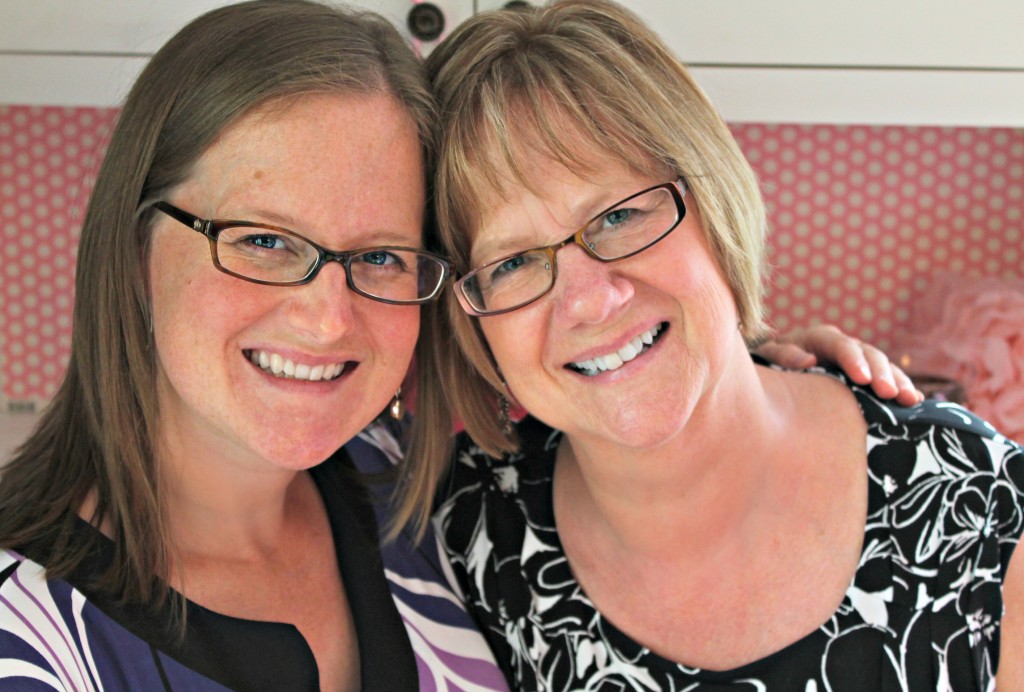 It was so fun to help Elissa get ready to welcome her little girl! I can’t wait to meet her. Congratulations Elissa and Tino! Love, Aunt Jenny

Hi! Can you tell me where you found your images that you used for your onesies? I love the look of these and would like to use something similar if possible for the shower I am throwing 🙂 Also, did you iron directly over the printable image or did you place a piece of cloth in between the iron and the image you were transferring?Thanks for the great post!
Hi Becca,
Thanks for reading! I’m glad you like the onesies.
With the Avery paper I used, you iron directly onto the backing of the iron-on paper. You don’t need a cloth between.
You can find lots of images if you use Pinterest. I searched “woodland free printable” and “garden free printable” “ladybugs” “bees” and even “mason jar free printable.” I was looking for icons in those themes and after a few clicks found something I liked. Sometimes one of these pins leads to a blog (like the one below) that has a free printable section. That’s a great place to look too.
This is one that I used: http://www.childreninspiredesign.com/content/free-collage-art-kids-chance-win-200
I hope that helps!
Jen
thanks!
THANK YOU for sharing the detailed plan for iron-on onesies! Complete, easy to understand, and you gave ideas for where to find supplies. Exactly what I was looking for:)
Thank you for reading Sue! I’m glad the post was helpful.
THANK YOU for sharing the detailed plan for iron-on onesies!
http://www.dotcom-baby.com/
Thank you for this wonderful idea!! It was a smash at the baby shower I threw for my best friend. So much better than having people paint on the onesies as not everyone has artistic talent. Everyone enjoyed it!! I did purchase images off etsy if anyone is looking for more options.
You are welcome! It is really fun for people and you are right, less intimidating (and messy)!
Thanks for reading and I’m glad you had a great time at your shower.
Jen
I love your choices of images!! Any chance you still have (and feel like sharing) the sheets that you compiled?
Thanks Annie!
I’m glad you liked them, but I’m sorry, I can’t share my images because I purchased them for one-time personal use.
I understand not being able to share the images of the designs for the onesies. Can you tell us where you purchased them, I have no problem paying for artwork.
Hi Heather!
Thanks for reading!
Unfortunately I didn’t keep all the links to the designs I found. These are some of the search terms I used: “woodland free printable” and “garden free printable” “ladybugs” “bees” and even “mason jar free printable.” I was looking for icons in those themes and after a few clicks found something I liked. Sometimes one of these pins leads to a blog that has a free printable section and you can find even more.
I purchased the monkey designs on Etsy. https://www.etsy.com/transaction/127010105.
Here is the link to the cute woodland designs – those were free. http://www.childreninspiredesign.com/content/free-collage-art-kids-chance-win-200
Jen
I am curious if you printed the transfers on a home computer, or had them printed?
Hi! Thanks for reading. I printed the transfers at home on an inkjet printer.
Jen
Hey, Love your post! Where did you get the stamp that says “100% Original 100% homemade?” Thanks!
Thanks Jessica! I think I bought it years ago at Archivers. Jen
After I buy the PDF file how can I print it on the wax paper? Bring the pdf to staples ?