Last year for Christmas Jen and I made the exact same gift for friends and family — homemade marshmallows and hot cocoa mix. Around the same time I proposed starting Borealis together, and it seemed like kismet — although we are very different people in many ways, we still think eerily alike.
In time for the holidays we wanted to share how we made these gifts, in case you want to give it a try this year!
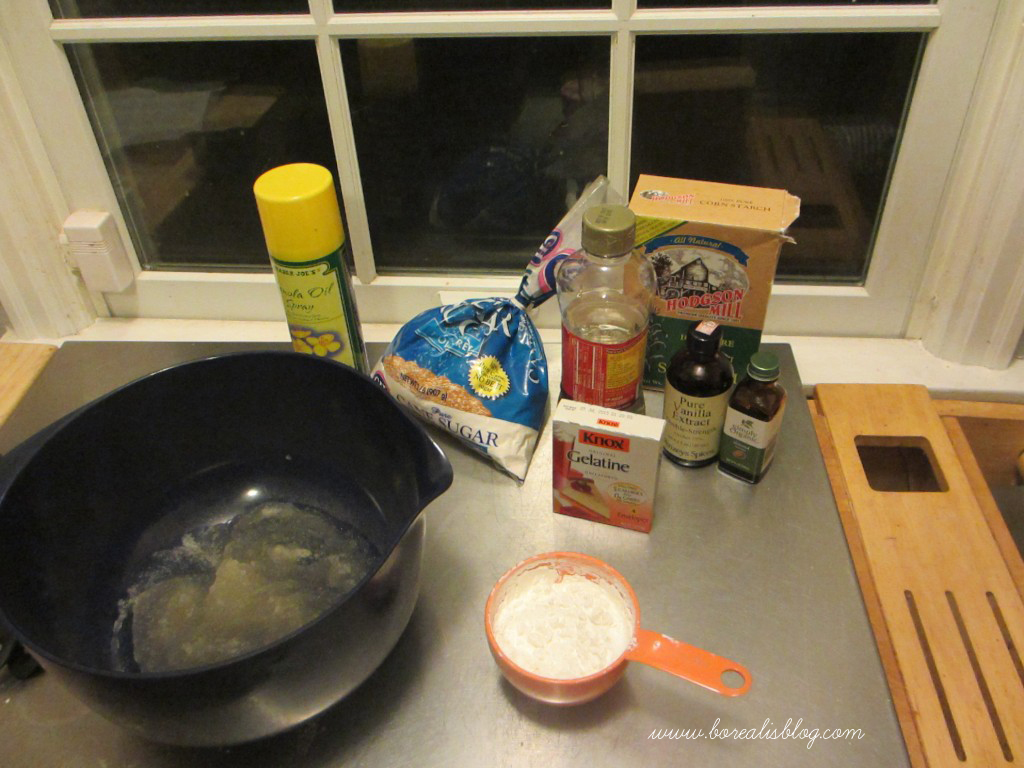
Breanne’s Marshmallows
The marshmallow recipe is long but only because it’s very thorough — don’t be intimidated. The recipe makes about 80 so I was able to get a lot of gifts from one batch.
Don’t let the length of the recipe fool you; this is a fairly simple (and pretty foolproof) recipe. Lots of details are provided, to keep you on track through steps that aren’t difficult but might be unfamiliar (be sure to read the hints, below). A number of other approaches were tested; this is the best. For peppermint marshmallows, substitute 1 tablespoon of vanilla extract with 2 teaspoons vanilla extract and 1 teaspoon peppermint flavoring.
Reprinted from the Minneapolis Star Tribune, Sicherman; first published in Taste on Feb. 3, 2005.
1 3/4 c. granulated sugar
1 1/4 c. plus 2 tbsp. water, divided
1 c. light corn syrup
3 (1/4 -oz.) envelopes unflavored gelatin
1 tbsp. vanilla extract
1 c. (about) powdered sugar, and more for dusting
1/2 c. (about) cornstarch
Directions
Lightly oil a 9- by 13-inch pan and sprinkle it with a little powdered sugar. In a saucepan, combine the granulated sugar, 3/4 cup plus 2 tablespoons of water and the corn syrup. Stir gently, just to wet all the sugar. Cover and bring to a boil without further stirring. Uncover, clip a candy thermometer to the side of the pan and heat without stirring to 240 degrees.
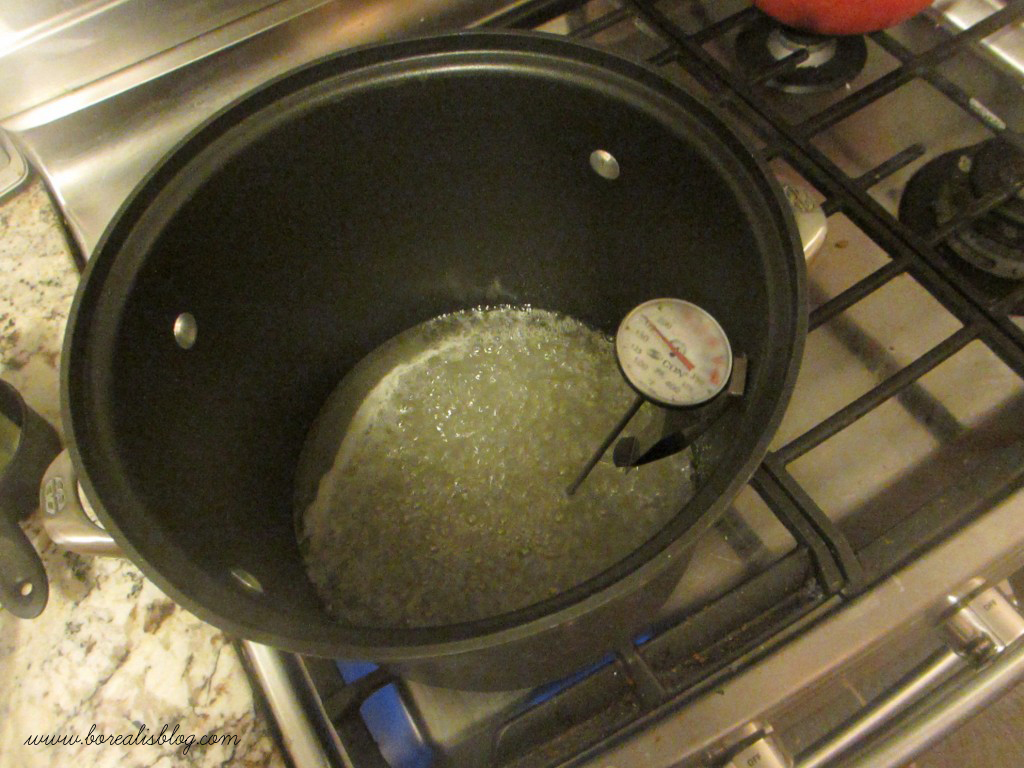 When the syrup has started to boil, put the remaining 1/2 cup of cold water in the large bowl of an electric mixer and sprinkle the gelatin over it, stir to wet any lumps of gelatin and let it soften at least a minute.
Slowly pour the 240-degree syrup into the gelatin mixture, beating it in at low speed. (Be sure to see hints below about pouring the hot syrup.) Once all the syrup has been added, increase the mixer speed to high and beat, scraping the bowl frequently. When the mixture becomes opaque and begins to thicken, add the vanilla.
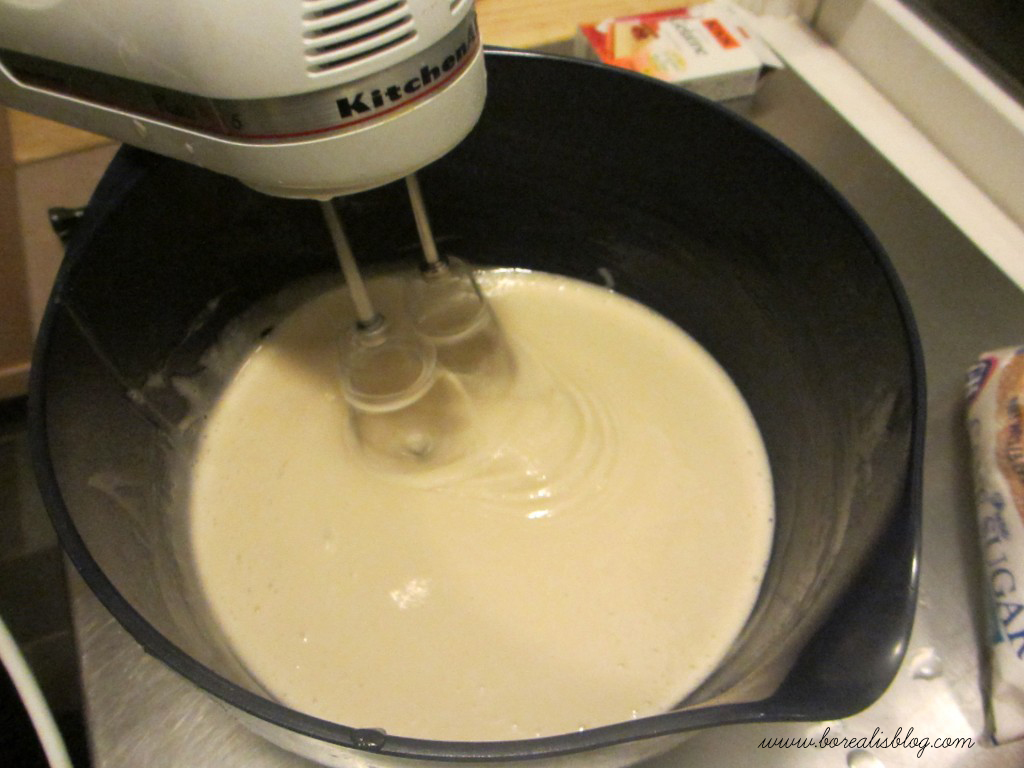 Continue beating at high speed, scraping frequently and stopping occasionally to check the thickness of the mixture. When it is properly thickened, pour and scrape it into the prepared pan, and set it aside 2 hours or more, until it is fully cooled.
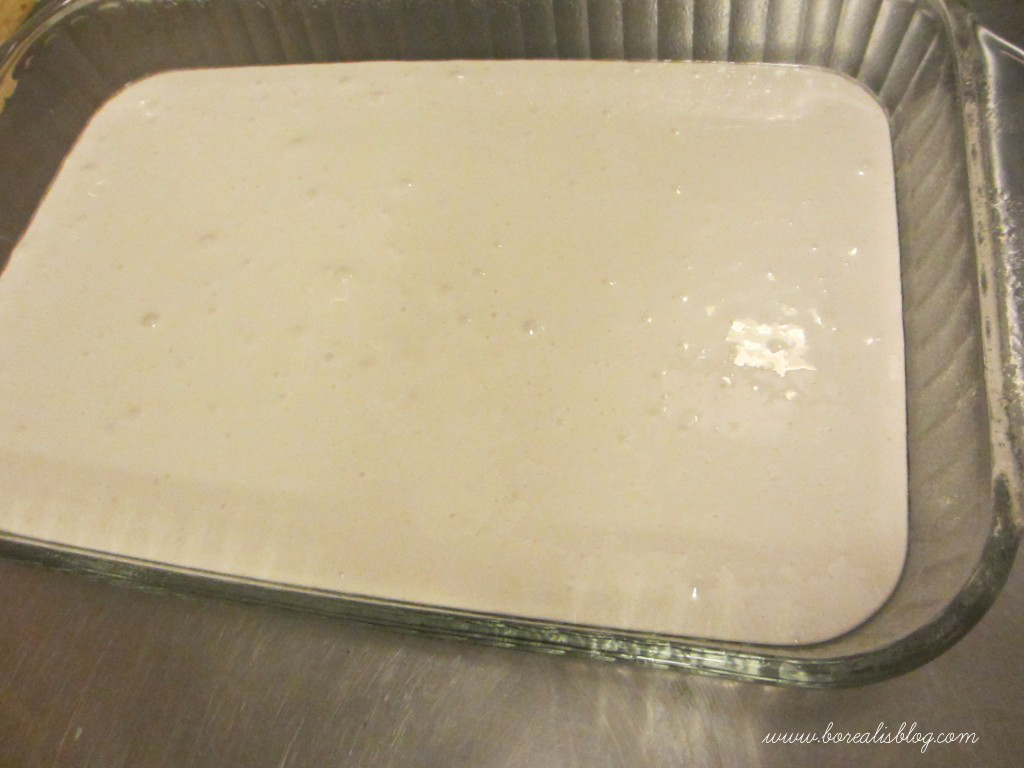 Run a table knife around all four sides to loosen. Sift a little powdered sugar over the top, and also over a sheet of waxed paper on the countertop.
Invert the pan onto the waxed paper, slap it on the bottom and lift one side of the pan. If the marshmallow isn’t easing itself out, pry at a corner with a table knife, working along and under until it starts to come out.
Dust what’s now the top with a little more powdered sugar. Combine the cup of powdered sugar and the 1/2 cup of cornstarch in a shallow bowl.
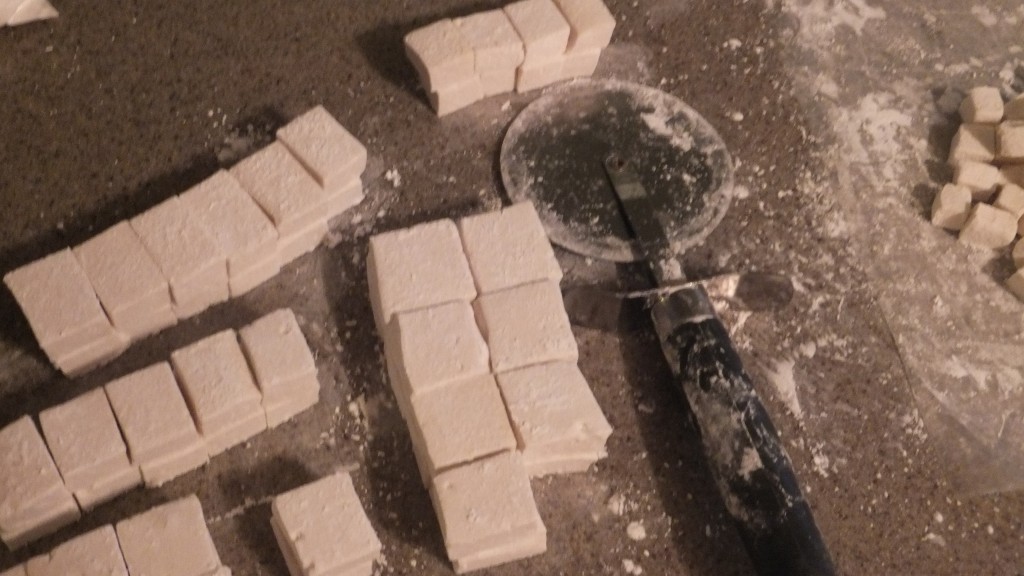
Oil a knife (or, better, a pizza cutter or kitchen shears) and slice the marshmallow crosswise into 10 strips, cleaning and re-oiling the cutter as needed. Cut one strip into 8 pieces, and toss them in the powdered sugar mixture to coat all sides, then shake off excess in a sieve or colander. Repeat with remaining strips. Store wrapped or covered.
Marshmallow-making hints
- Unless you’re an old hand at candy making and you know the soft-ball test like the back of your hand, you’ll need a candy thermometer for the basic marshmallow recipe. They’re inexpensive — $4 or $5 at any supermarket.
- As in any candy making: When bringing the syrup mixture to a boil, you can uncover the pan to see how it’s doing, but cover it again until it’s boiling rapidly. Keeping it covered at that early stage allows water vapor to condense on the sides of the pan and “wash” away any sugar crystals that might cause the syrup to be grainy.
- The hot syrup shouldn’t be poured against the side of the bowl nor into the beaters, only into the mixture in the bowl, so: If using a stand mixer with a stationary bowl and a beater that orbits around, add syrup a little at a time with the mixer off, then beat it in and stop again before each addition. If using an older stand mixer or a hand mixer, add the syrup slowly while beating at low speed, turning the bowl occasionally, but keeping the stream of syrup away from the beaters.
- Once everything is in the bowl and you’re beating it at high speed, turn and scrape the bowl constantly if using a hand or older stand mixture, or stop frequently to scrape the bowl if using a newer orbiting-beater mixer. If using a hand mixer, stop occasionally to allow the motor to cool (or it could burn out).
- Beating the final mixture will take between five and 15 minutes, depending on the mixer. It should be very thick: When the beaters or spatula are raised, it should form peaks (but they will collapse). The batter should come off the beaters in a thick ribbon that folds on itself a couple of times before dissolving into the surface. (You’ll know it when you see it: When a spatula pushes batter away from the side of the bowl it should fill back in only slowly.)
- Keep finished marshmallows covered. They tend to stick together, so store them not piled up but fairly flat, maybe in a large pan (dusted first with the powder mixture), and tightly covered.
I’ve made marshmallows five or six times, and the recipe failed for me once. When we went to beat in the hot syrup the gelatin held firm and refused to be incorporated. I think we let the gelatin sit too long, and the next time prepped it just a minute or two before pouring the syrup in.
I packaged the marshmallows six to a pack in a small clear plastic bag. I folded over the top and used some washi tape to hold it shut. The marshmallows are best soon after making them but are still quite good a couple of weeks later.
Jen’s Salted Caramel Cocoa
I did indeed make the exact same homemade gift for friends as Breanne, which we discovered at an early should-we-do-this-blog-together lunch meeting. (We did not, therefore, exchange cocoa gifts. Next time we saw each other, voila, we’d whipped up something else!)
I made salted caramel cocoa mix to go with my marshmallows. This cocoa mix is really good and provides some dramatic candy-making, caramel-pulverizing fun. I found this recipe on PheMomenon.
First, make the caramel. All it takes is sugar and vanilla. (So get the best vanilla you can.)
Here are the steps:
- Line a large baking sheet with parchment or foil and set aside
- Place 2 1/2 cups sugar in a large, heavy pan or skillet
- Melt it without stirring over medium heat
- Once it starts to melt, swirl the pan a bit to melt the sugar and keep it from burning. It should turn a deep amber color.
- Remove the pan from the heat and add 3 tablespoons of vanilla. (Carefully because crazy things will happen. Candy making is chemistry!)
- Whisk until smooth again.
- Immediately and quickly pour onto the lined baking sheet and allow it to spread without touching it. Set aside and let harden at least one hour.
After it has hardened, break it up with the back of a large spoon. You need pieces small enough to fit through the tube of a large food processor. Turn the processor on, and while running, drop the caramel pieces into the tube so it pulverizes the caramel into a fine powder. (This part is fun!) Keep adding it a few pieces at a time until it is all powder. (A cloud of caramel dust will be in the bowl and poufing up everywhere. You and your kitchen will be sticky.)
But now you’ve arrived at the much easier part – add the following to your food processor with the caramel dust in it:
- 1 1/2 cups good-quality Dutch cocoa powder (I got mine at Penzeys)
- 3 tbsp fleur de sel (spring for the best sea salt you can get)
- 1 cup dry milk powder
- 3/4 cup packed light brown sugar
Blend the mixture until smooth, then add:
- 10 oz good quality bittersweet chocolate or chocolate chips (I used Ghirardelli)
Run the food processor again until the chocolate is ground into a fine powder as well.
You are done! To make a cup to drink, add three tablespoons of mix to 1 cup of hot milk.
If you are making these for gifts, this recipe will make enough for eight half-pint canning cars. Each jar will have enough cocoa for four servings.
If homemade marshmallows did you in, though, and you can’t face another sugar-dusting of your kitchen, you could try these options for the cocoa mix (just put in your own cute container):
- Individual cocoa packets from Starbucks (sold at the grocery store) or the like
- A store-bought mix, fancied up with cinnamon, cardamom, cayenne, nutmeg, or unsweetened cocoa powder
Sweet and Fun Packaging
We are marketers, after all, so it follows that we love packaging. Cute labels, great colors, washi tape, baker’s twine or jute — we want it all.
Here’s how Jen packaged her cocoa and marshmallow gifts:
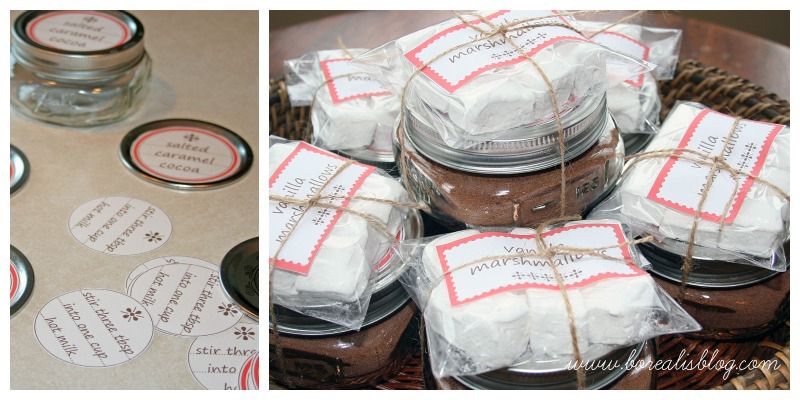
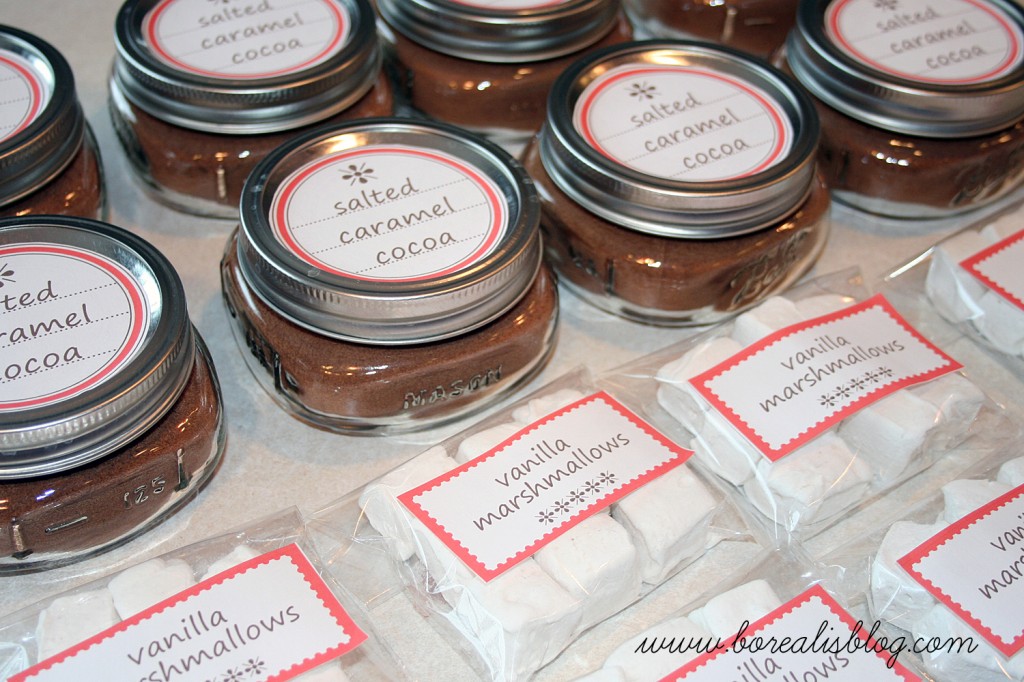 I got the jars at Target and the plastic treat bags from Michaels. I made the labels using a printable download label set and adding the text myself. These were printed on full-sheet label paper, available at any office supply store. The back of the bag is closed with washi tape (a present from Breanne years ago; we definitely do think alike), and I put the instructions for mixing the cocoa on the bottom the jar.
 Breanne used spice jars for her cocoa mix:
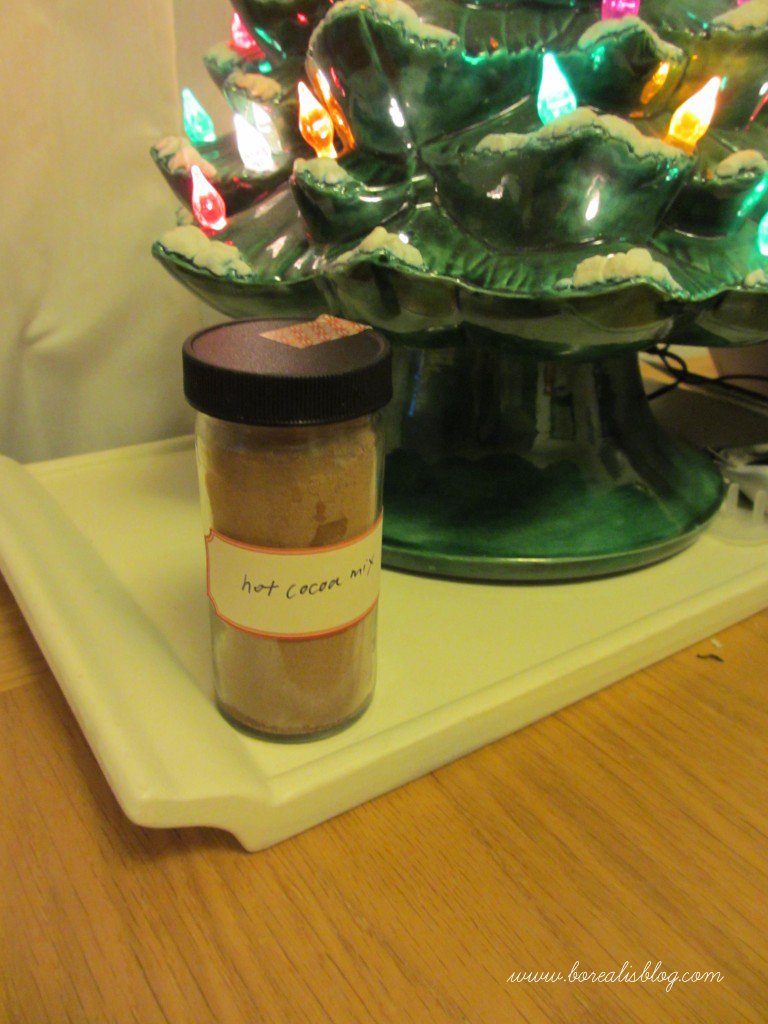 To package the cocoa, spice jars — new or reused — work great. I ran old spice jars through the dishwasher and cleaned off the labels and applied new labels with more washi tape, then filled them with cocoa. My marshmallow packets were nearly identical to Jen’s, and I slipped the cocoa and marshmallows into a medium-sized glassine envelope. I used some red-and-white baker’s twine to tie it all up.
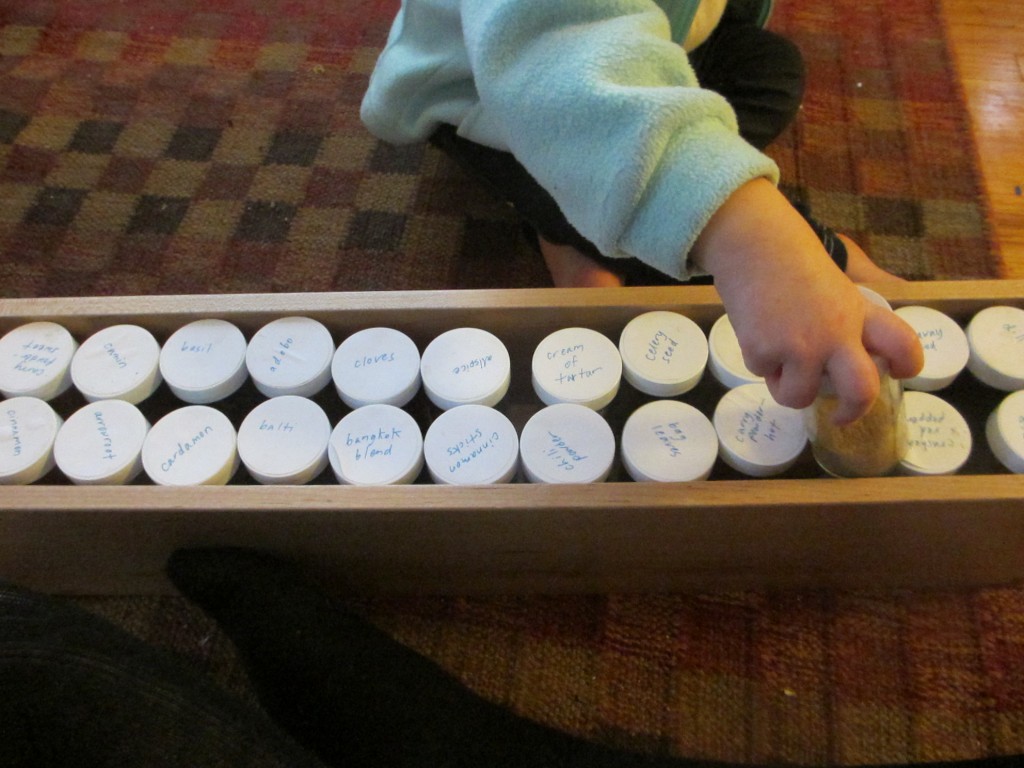
I had a ton of jars (many of them Penzey’s, which has nice jars) leftover from our kitchen remodel, when I ordered new slightly-smaller-than-average jars to fit our new spice drawers. The effort was well worth it — I love having two tidy drawers — A-L and M-Z, of course — with everything matching.
Candy-making, cute-packaging, ooey-gooey, and chocolate. It really doesn’t get much more fun. Happy gift-making to you!


